Tales from the Trail Side
/I’ve found that is can be tremendously helpful for any golfer to fully understand the ins and outs of impact. Today I want to address the trail side and what my preferences are for it as we approach impact. Let’s start with this…
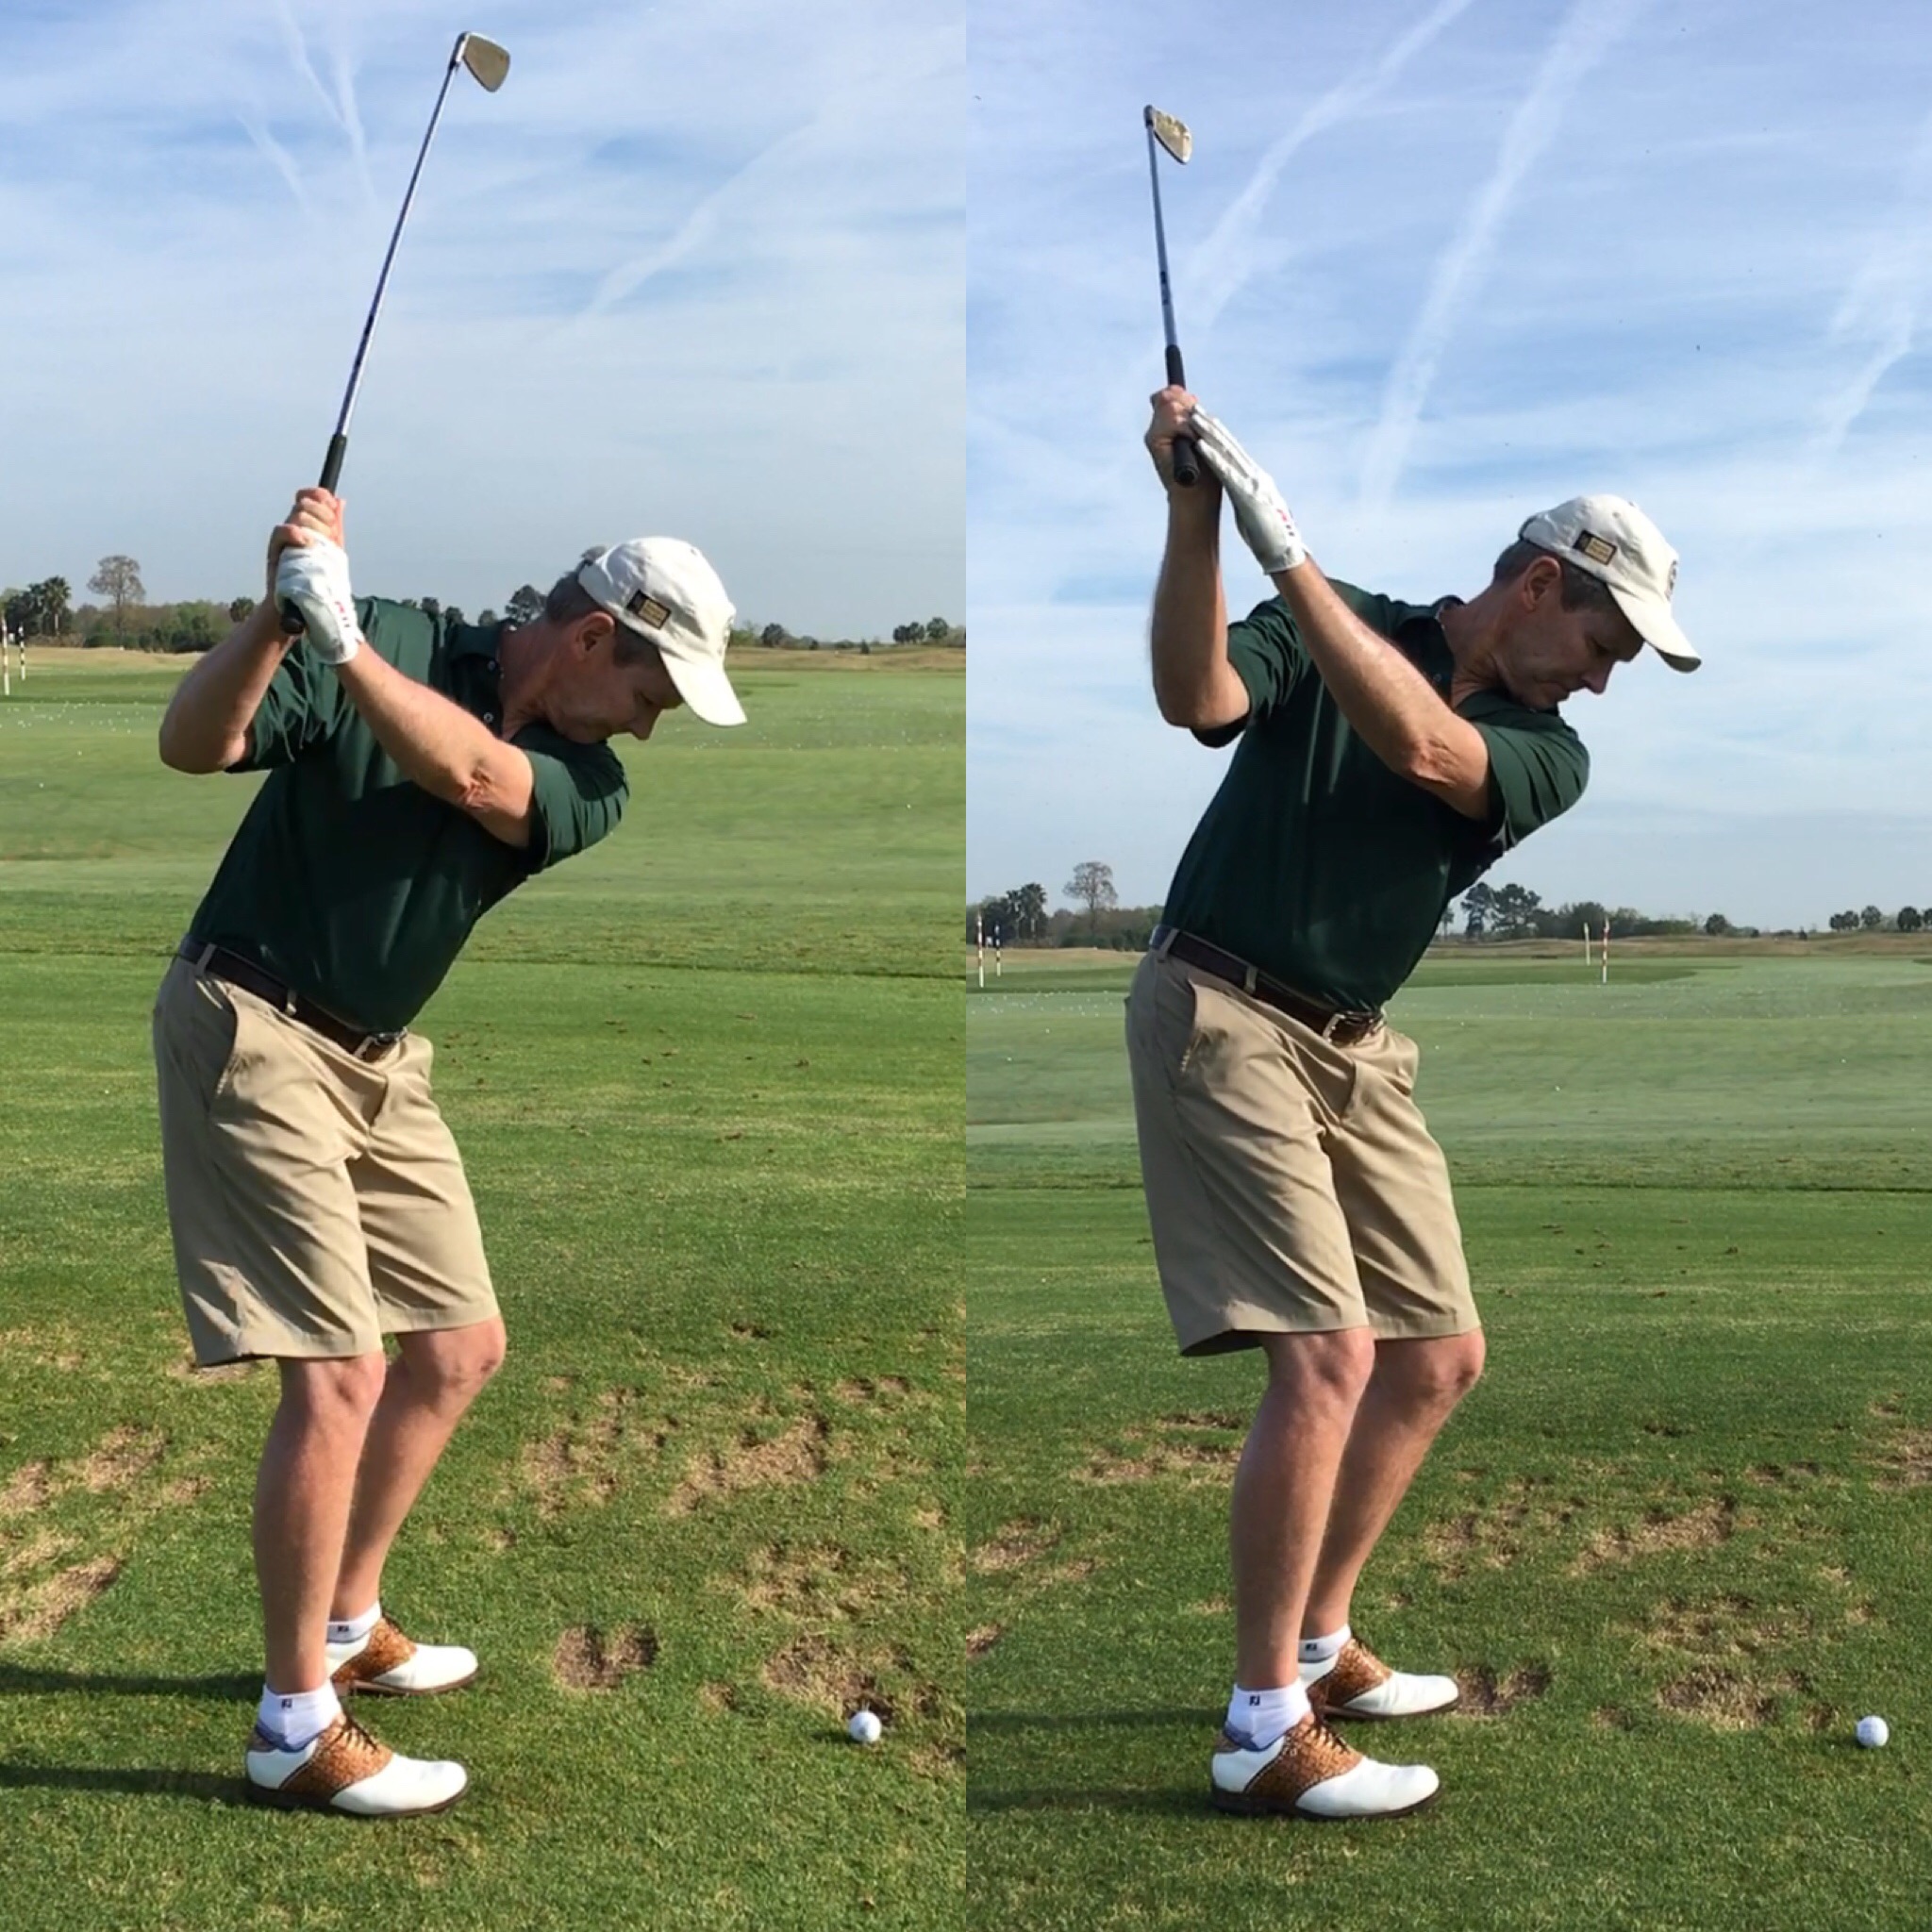
What are we looking for at impact?
Hips and chest rotated open relative to the target line
The trail hip should be lower than the front side counterpart
As a result the trail leg is flexed and the knee has moved towards the ball
The trail arm is flexed
As a result the trail shoulder is lower than it started at address
The spine has tilted away from the target (side bend)
While generating speed can be genetic to a certain degree, our ability to control the club face at impact and thus the direction and shape of our shots is largely a product of both technique and skill. Merely posing impact, as I have demonstrated in the video above, might shed some light on what you need to work on in order to better control the strike and accuracy of your shots.

Brandon Stone
You might be shocked at your results when you can start to master the trail side through the impact zone. Now let’s get to work.