Get the Face in Place!

The ability to control both the face angle and loft at impact is paramount to playing better golf! This element in the golf swing really plays a major role in my teaching philosophy. Here’s a simple, yet illustrative, video that shows what can go wrong and how it needs to work…

So much of what we do in our golf swings is dictated by the face angle in the early part of the downswing. An open face means a stalled pivot and handle to go along with too much loft and an inconsistent strike. On the other hand an overly closed face will encourage too much lateral drive in the downswing and cause the hands to ultimately be too far forward and de-loft the face too much. This image illustrates the two extremes…

7DC28B2C-CA35-46EA-9EF7-0FE3B15876E1.jpg

If you can make, even subtle, upgrades during this all important part of the golf swing you’re going to see a marked improvement in both your ball-striking and flight. Give it a go!

handclubpath.jpg

Controlling the Clubface

Here's a great drill that will help to create awareness of where the clubface is angled at impact...

Keep in mind that the clubface is PRIMARILY responsible for where the ball launches, while the clubpath is PRIMARILY responsible for the curvature of the shot. If you know the predominant shape of your shots, the key is to launch the ball in the proper direction - this drill will help! Give it a try and please let me know if you've made any progress.

A Clubface Primer

A Square Face at the Top

It is important to understand that the angle of the clubface will influence a golfers' ability to get into a proper impact position. Athletic instinct will always compensate in order to position the face squarely (or as squarely as possible!) at contact. Thus, a square clubface will allow any golfer to naturally more repeatable impact position.

There are three good check points that occur prior to impact to observe the position of the clubface. As these check points get closer to impact they tend to have a greater effect, not only on the impact position, but also the outcome of the shot. Here they are:

Going up:

An Open Face
An Open Face

- Invariably if the clubface fans open early in the swing the clubhead will assume a position inside the hands at this point.

- Here the face is looking more towards the sky than is optimal

- Also notice how there is more daylight between my left hand and right thigh than the picture below

A Square Face
A Square Face

Ideally the clubface should be vertical to slightly tilted down here with the clubhead covering the hands.

A Closed Face
A Closed Face

- In this situation the clubhead has lagged a little behind the hands and arms with a slight draggy start to the swing

-The arms are moving in and close to the body as the handle stays inside the clubhead

- The clubface is looking at the ground too much here

At the top of the backswing:

An Open Face at the Top

- Notice how the clubface hangs down vertically (almost perpendicular to the ground) and is visible under the shaft

- Also notice the cupping in the back of the left wrist

- This position requires active hands through impact and will generally lead to an over the top approach into the ball

A Square Face at the Top

Ideally here the clubface should parallel the shaft and the angle of the left arm.

Here you can see the clubface angled up toward the sky (almost parallel to the ground) and it is clearly visible above the shaft

- The left wrist position is quite flat and may even become bowed

- This face position will often cause a golfer to get under plane coming into the hit and force the body to raise up through the hit in an attempt to hold the face square

Coming down:

Open Face Approaching Impact

- This position invariably causes a wiping motion across the ball through impact

- The weight will invariably stay back as the golfer tries to position the body to aid in squaring the face

- Shots struck from this open faced position will be weak and generally not have any "sting" on them

Ideally here the clubface should be in a position where it is perpendicular to the ground.

Closed Face Approaching Impact

- This clubface position will lead to a raising of the hands through impact

-There must be a loss of body angles through the hit in an attempt to deter the face from flipping closed

-Practice hitting high, cut up 8-iron shots that travel 50 yards to overcome this fault

Additional articles regarding the clubface:

What is a Square Clubface? by Dave Wesley

Secret to Squaring Your Clubface by Kelvin Miyahira

Keep a Square Clubface by Karen Palacios-Jansen

See open, closed, and square club faces by Ty Daniels

From Slicer to Bomber

An Average Slicer Tee Ball The above TrackMan screenshot indicates a very typical pattern for the slicer - an overly inward club path (-15.2 degrees out to in) along with a clubface angle that is open/right of where the clubhead is travelling (9.9 degrees). This package results in shots that invariably launch left and curve aggressively right, often shaping across the target line. The end result is a far from optimal tee shot coupled with a healthy fear of any shot that leaks too far into right field!

The video below demonstrates what I did with the "owner" of the slice illustrated above. I have had tremendous success with this technique - primarily, I believe, because it taps into a golfer's instinct that screams - in order for my ball to not leak right I must swing as much to the left as possible. Essentially the drill gives the golfer a reason, something they've never had, to swing to the right. Take a look....


  • Tilt the face down 30 degrees (1 hour)
  • Take normal grip
  • Adjust shoulders and arms to square the face at address
  • Swing out to right field

After working on this drill for a while the golfer started to get comfortable and gain a measure of confidence that the ball actually would work back to the left.  This is what happened...

From Slicer to Bomber...

As you can tell from the above numbers the golfer has hit this shot more 55 yards longer. Part of that (15 yards) is due to an increase in speed, but as you can see - this player is now swinging from in to out, is hitting far less down on the ball, has substantially less spin and were it not for a slight heel side strike this would have been even longer.

These screenshots were taken during the course of a standard one hour lesson. They indicate an average shot from the player before the change and after. The golfer hit shots that were worse and better than both examples shown. Unfortunately an increase of 55 yards is not normal, but every little bit helps...!

Pitching Help


When it comes to the shortgame it is vital that the golfer strikes the ball and the ground on every shot - and preferably in that order! Golfers run into trouble when the club contacts the ground before the ball, particularly with a closing clubface as the leading edge will dig into the turf. There is no quicker way to deplete confidence than to start  alternating between bladed and heavy pitch shots.

A helpful drill is to practice hitting 40-60 yard pitch shots with an 8-iron. Try to get the ball up in the air, with a slight cut action and have it land softly. This will give you the sense of keeping the face open and using the bounce of the club correctly. It will also prevent the wrists from being overly active. A feeling to key in on is the sense of swinging to the inside after impact (as pictured below). Be sure to keep the face open or looking up while the club tracks to the inside as this will prevent the leading edge from digging.  This is rapidly becoming one of my favorite drills!

Two Shots for Sand Success

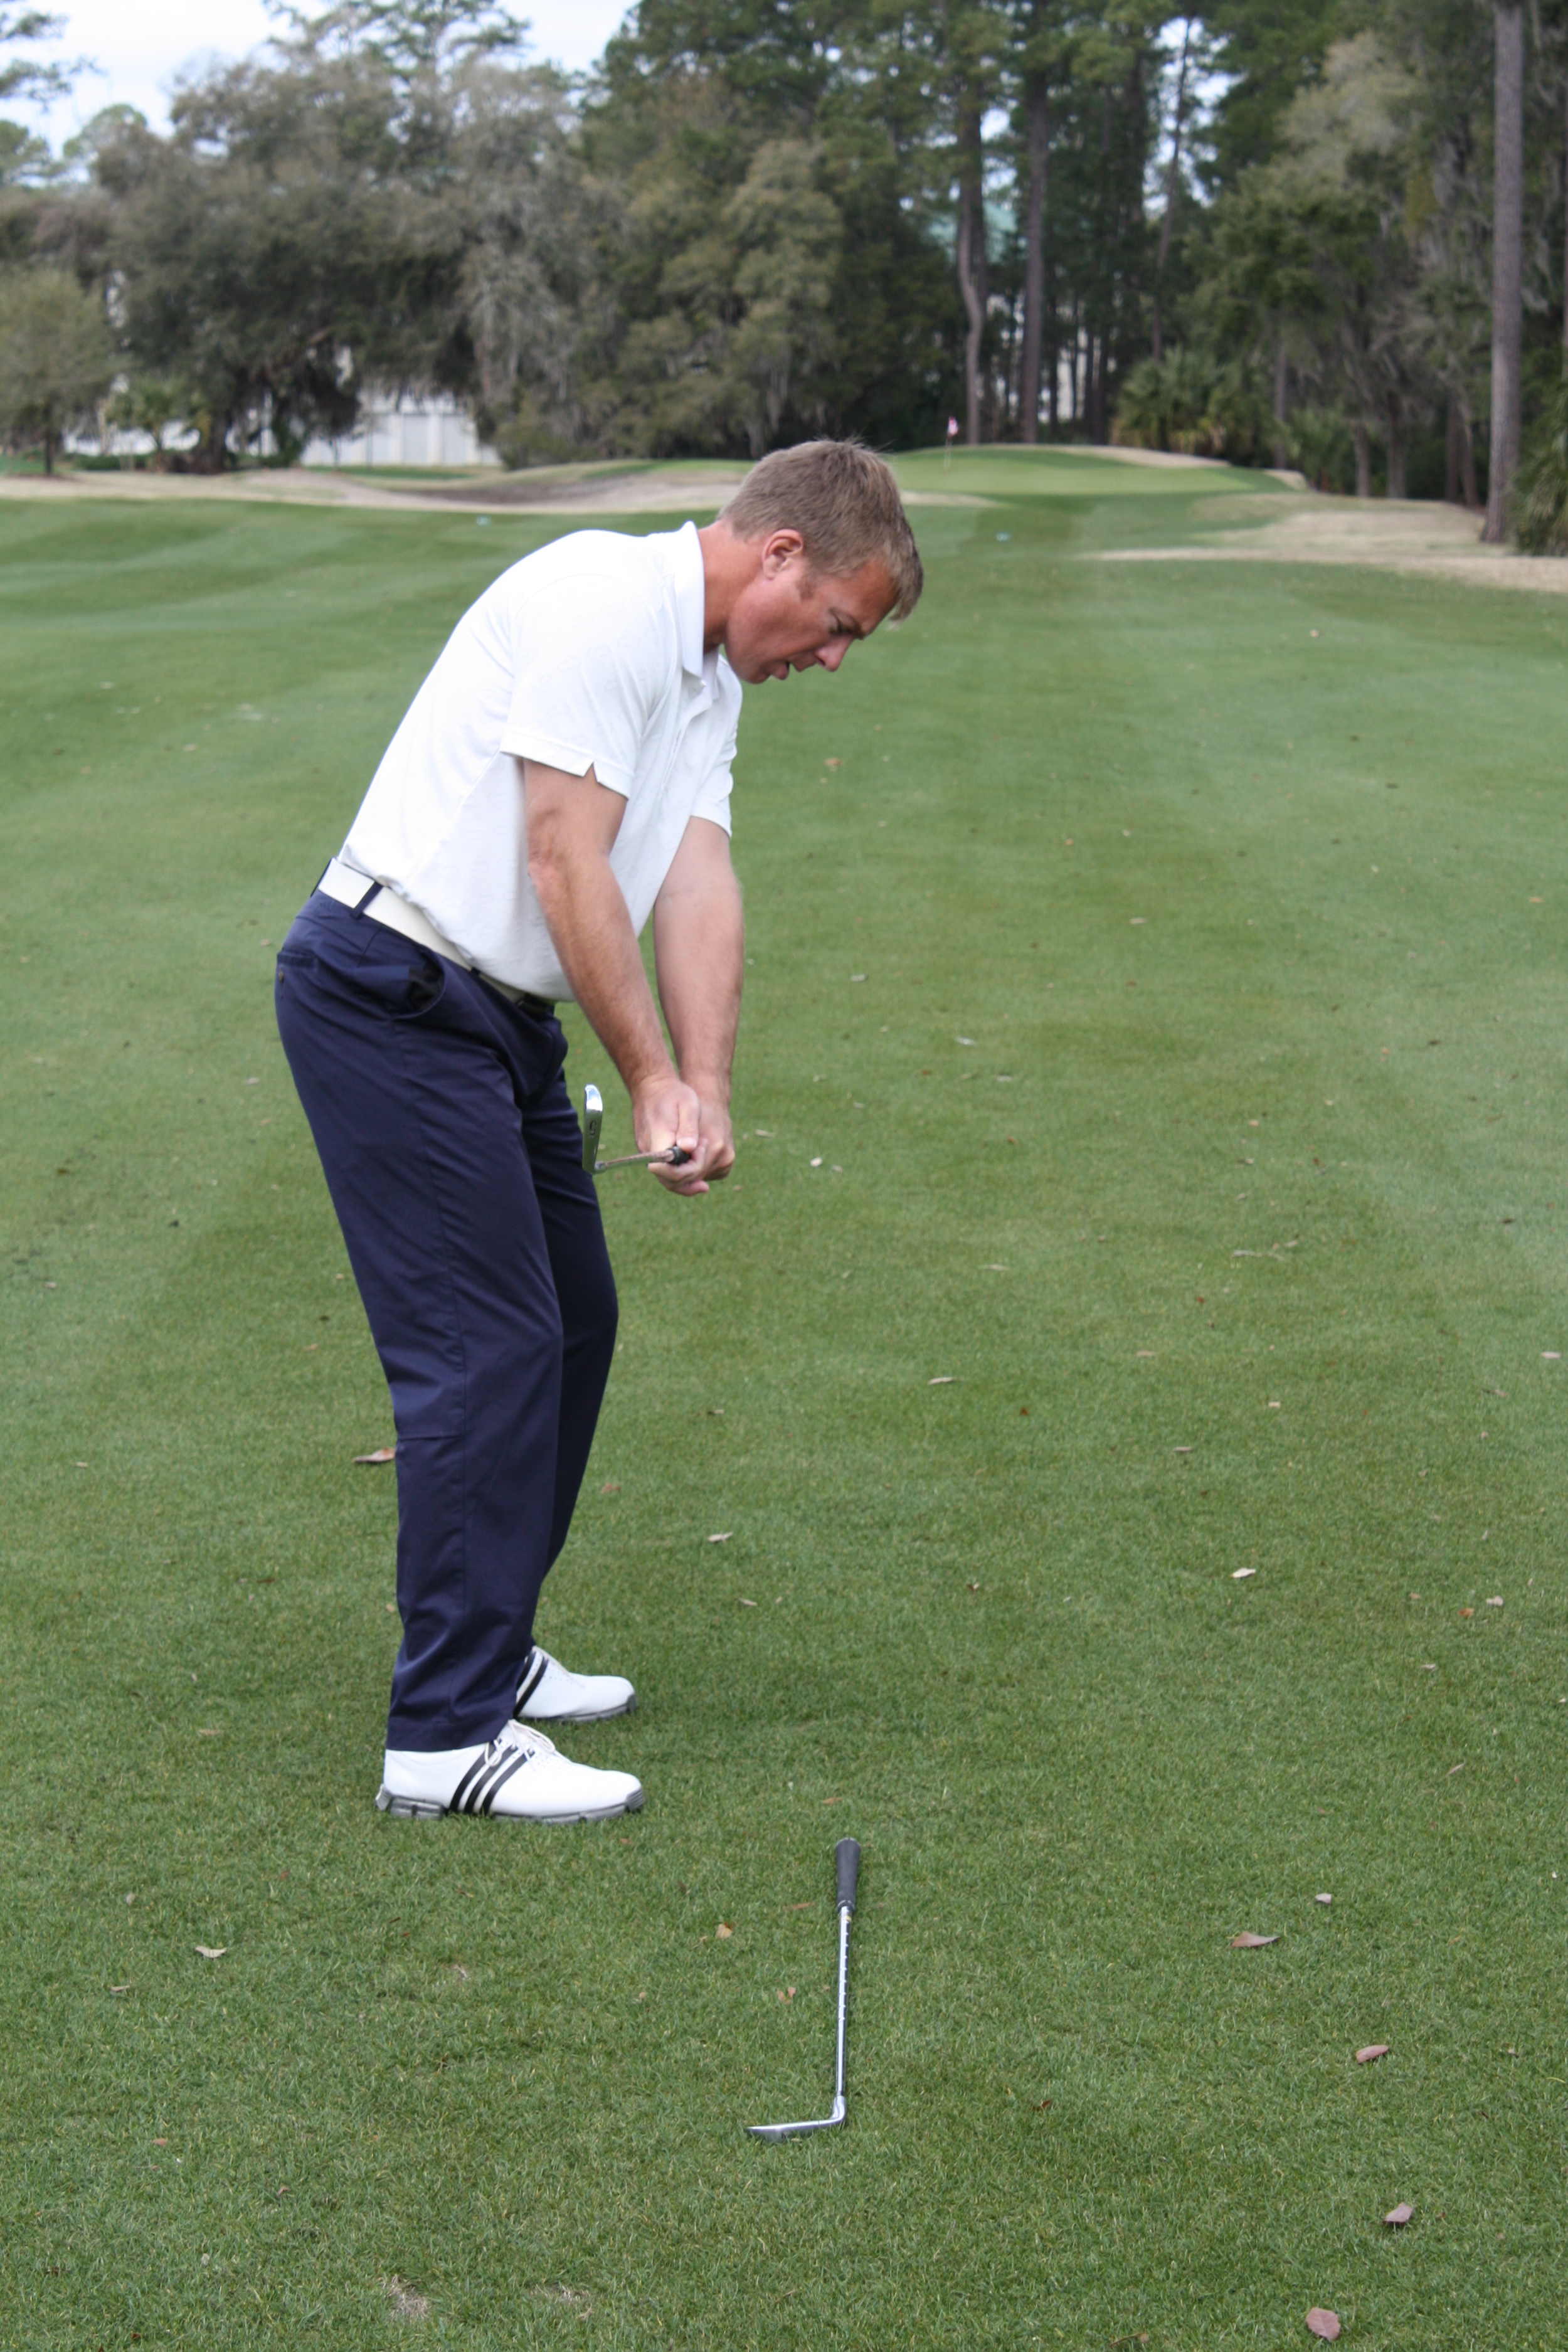
In order to be a great bunker player you need more than one shot.  How often have you found yourself in the sand, twenty feet from the hole, and you need to hit a high, soft, spinnning shot to have any chance of getting up and down?  Or found yourself sixty feet from the target and you now need a lower, running type bunker shot in order to reach the hole?  You need to learn these two shots!

Feel the Face this Open for the High Shot!

The first shot is a high velocity, high trajectory, high spin shot.  It is most often struck with the most lofted club in the bag.  In this situation the ball needs to come to a screeching halt very soon after landing, due to the fact that you have very little green to play with.
Here is how to play the shot:
  • Using your most lofted club, open the face as much as possible.  You should feel as if you could balance a glass of water on the face of the club at address - take note of the picture above.
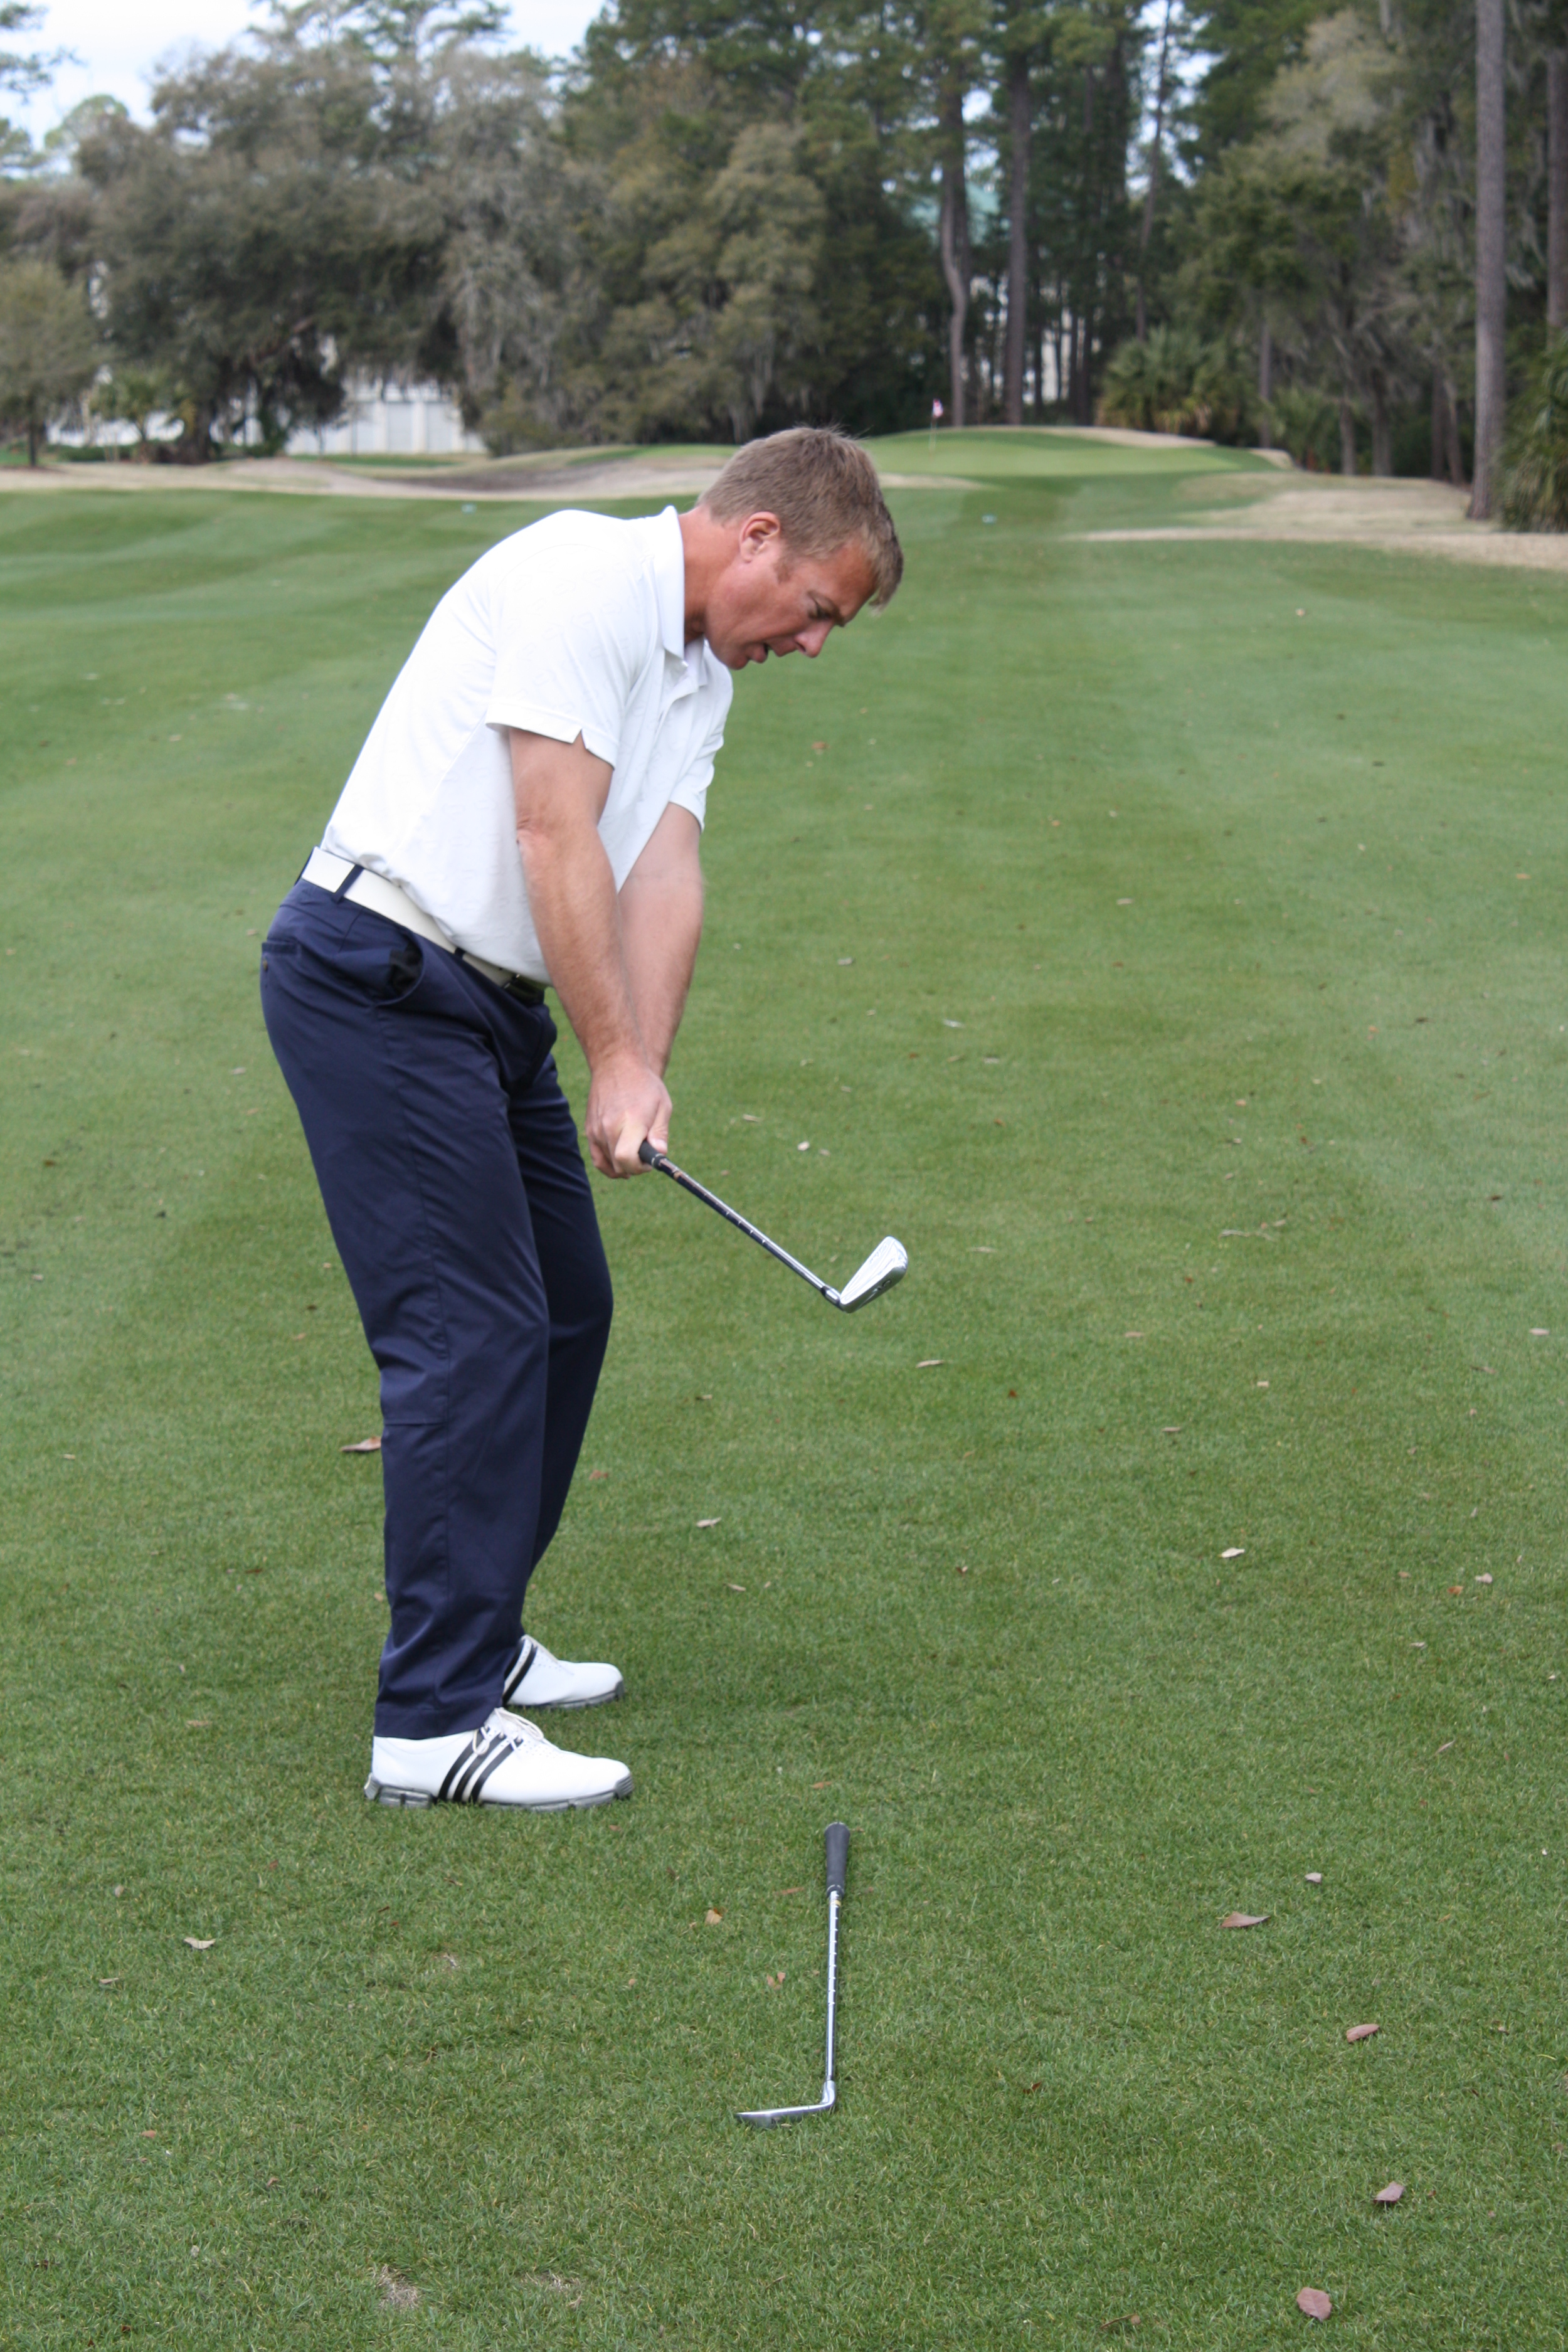
  • The velocity and speed in the swing is what gets the ball high and spinning, so even though this may be a short shot it requires an aggressive approach.  Hit it hard!
  • Going through impact try to feel the hands scoop under the ballThe club head releases under and thus the club face stays open through the hit. This is an important element to this shot as it allows the golfer to hit hard, yet when releasing the club properly, the ball goes up versus far.
  • Practice this shot from good lies off of a slight up slope in the sand.  While hitting the shot as hard as you can try to see how high and short you can make the ball travel.

Post Impact

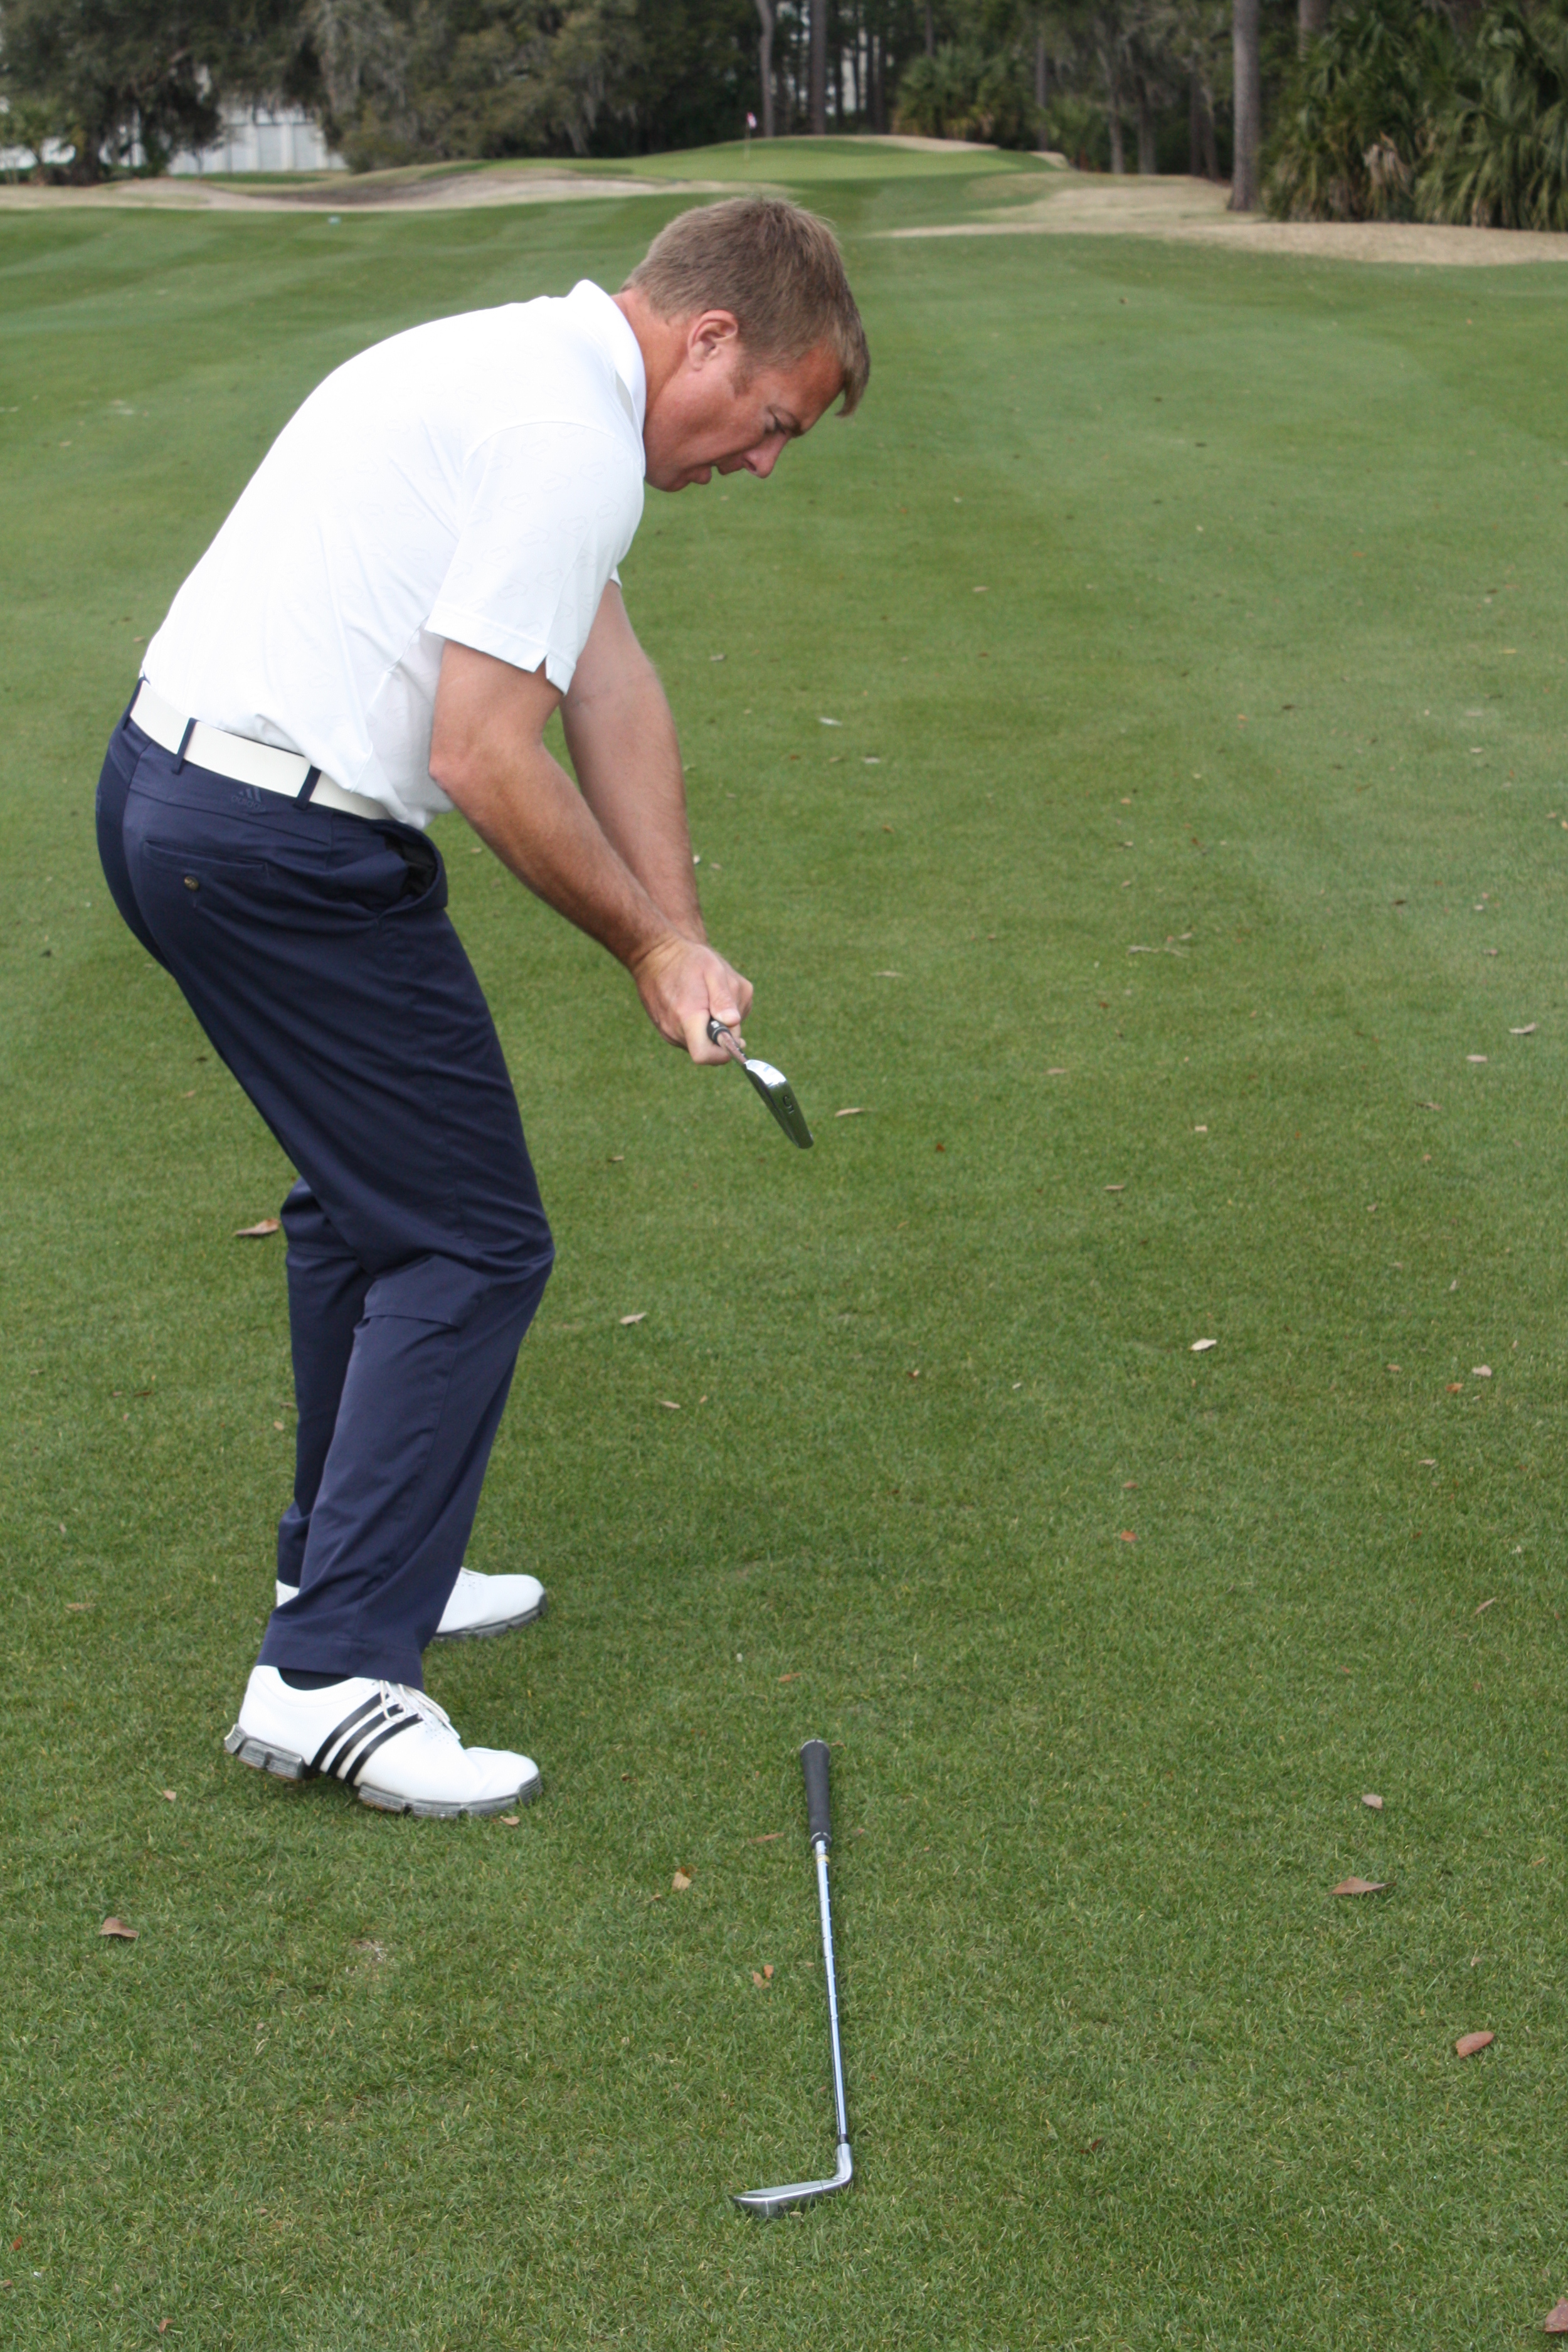
The other shot is a low velocity, low trajectory, low spin shot.  It should most often be played with the second most lofted club in the bag.  If you have an LW it would be the SW, or if you only have an SW then you should use the PW.  In this situation the shot needs to traverse a large portion of either flat or downhill green.  There is ample opportunity for the ball to roll like a putt!

Play the shot this way:

  • Using a lesser lofted club the stance should be of average width and the ball position is still forward of center.
  • The clubface remains open, yet to a lesser degree than the above shot.
  • This shot is played almost in slow motion as there should be very little speed in the swing. I often call this the 'dump and run' shot, as it should just get out the bunker, land early on the green and roll to the hole as if it were a putt.
  • The hands should be light throughout the swing and it is okay to actually roll the face a little through impact.  This serves to lower the shot further and causes the ball to release more.
  • Do not attempt this shot when your ball is lying on an upslope! An upslope requires a more aggressive swing and that robs the ball of  its ability to stay low.
  • Practice is vital for this shot as it tends to take a few tries before sensing the correct speed of the swing.

With a few minutes spent experimenting with the above suggestions in the sand you will soon start to lose some of the angst we have all experienced when stepping into a bunker.  Give it a try and please feel free to let me know your thoughts.

Additional Resources:

How to Hit Great Bunker Shots

Luke Donald's Buried Lie